Levelfly

Levelfly is an achievement-based learning management system and social network system. Much easier to use than big-name systems such as Blackboard, Levelfly boosts student engagement with cutting-edge gamification features like avatars, badges, leaderboards, experience points, achievements, and rewards.
Faculty can design robust courses with announcements, notifications, forums, file storage, tasks, and gradebooks.
The tasks feature allows faculty to set due dates and files to upload; students stay organized with an integrated to do list for course work and timely notifications for tasks and announcements.
You can try out Levelfly by contacting help@neuronicgames.com. But keep in mind, if you decide you want to use Levelfly on an ongoing basis, you will need to have your own hosting and tech support, or to pay the developer for it.
Your tech support team can download the source code here: https://github.com/neuronic-games/levelfly
Getting Started
For All Users
How to Accept an Invite
- You will get an invitation email to join a Levelfly community.
- Click on the Join XXX link, and you will be taken to the registration page. Enter your real name in full, and your password for Levelfly. The password must be at least 6 characters in length and should contain both upper and lower case letters, numbers, and symbols.
- You will need to set your Privacy Setting the first time you log on to Levelfly. Select either Public or Private in the dropdown, and click Save. Most people will want to set this to public, so that their name can be seen in course discussions. No matter which setting you pick, your course grades will not be visible to others.


- You are now ready to use Levelfly. You can use it by directly going to the Levelfly URL, https://levelfly.bmcc.cuny.edu/ — you do not need to use the invitation anymore. If you were invited to join a course, you will automatically be added to the course. You can change how you look in Levelfly by changing your avatar. See How to Change My Avatar.
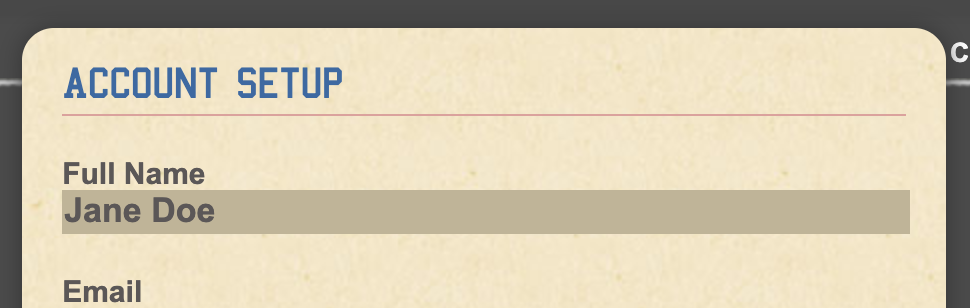
How to Change My Name
- Click on the Setup cog icon at the top-right.
- Type in your name into the Full Name field in Account Setup. Click Change. Click Close.

How to Change My Avatar
- Click on your avatar icon at the top left.
- Click on the Wardrobe button.
- Select the look that you want for Head, Body, Legs, Feet, and Accessories. As a beginner, you won’t have many options, but you will get more options as you level up.
NOTE: The very first hair option you select will give you a broken image on your avatar image. This is a bug. Select another hair option. This will work. - Click Save. Your avatar icon will be updated.


For Teachers
Creating a Course
- Click on Courses in the menu to the left.
- Click on the Create Course button in the bottom right.
- Upload an icon and enter the relevant information for your course, such as Name, Code, etc. Set Outcomes and Grading Categories. Click Save.
- The course is created. You can invite students to your course.


How to Invite Students to Your Course
- Click on Courses in the menu to the left.
- Click on your course from the list.
- Click on View Members.
- Enter the email address of the people you wish to invite. You can enter multiple addresses by separating them with a comma.
- They will get an invitation email with an invitation link. Once they click the link they will be taken to the registration page. Once they register, they will be automatically added to your course.


How to Download Student Activity
As a teacher, you can download a spreadsheet of your students’ activity for the course that you’re teaching.
- Click on Courses in the menu to the left.
- Click on your course from the list.
- Click on the Gears icon at the top right.
- Click on the Export Activity button at the bottom right.
- Your spreadsheet will be downloaded shortly. It is in a CSV (Comma Separated Values) format that can be loaded into any spreadsheet software including Excel, Numbers, and Google Sheets.
Game: The name of the game
Total Time: Amount of time you’ve spent playing the game
XP: The number of Experience Points that you have accumulated
Current Level: The latest level you have reached
Badge #: Number of badges you have accumulated in the game
At the end of the row, you can also find your score in the different learning outcomes for the game.


For Community Admins
How to Invite a Teacher
- Click on People in the main menu at the left. If you don’t immediately see it on your screen, you may need to click on the down-arrow to see more menu items.
- Click on Add User at the bottom right.
- Enter a valid email address of the person you’re inviting. Select Teacher from the drop-down. Click Add.
- An invite email will be sent to that person. The email will contain a link that they can click to join your community.


